Creating an Debian VM with a small footprint
Introduction
Why?
We want to store data. Our data. Our pictures, our movies, our tunes, our useless collection of weather measurements, etc. Virtual machines use storage space that otherwise could be used to store data. The most space a VM uses, the less space we have for our precious data.
A server of a large company must have resources to spare. It has lots of large disks with space for more data we can dream about. But, in a company, several people are there, sending and receiving very large and important files containing jokes and pictures of cats; so those enormous corporations spent tons of money on the state of the art machines to keep all cats and jokes flying around in order to make everybody happy. In this scenario, a VM can be as large as you wish. Space is not a problem and, if it becomes scarce, one just asks the manager to buy another 16TiB hard drive to increase the NAS storage.
However, at home we have very important work to do and no one likes to put more money than needed on hardware. That is why we spend so much time tinkering with our Raspberry Pis (RBP). We want to extract the very last drop of juice it can offer. This whole series of posts I wrote are about making more with less. Squeezing storage to the limit. Moreover, I already showed that it is easy to increase the size of a VM, but very laborious to decrease. That is why we must start small.
Things I assume you already know
I am assuming you know how to install an operating system on a computer. This post is about how to install Debian in order to keep it as minimal as possible. I will install Debian on a 2GiB virtual disk. Of course this kind of installation is not suitable for a desktop computer, where one can play Tetris all day long. This kind of installation is only useful for situations when the machine has one and only one job to do and the hardware it sees will never change, at least from the VM’s perspective.
Download Debian
If you followed along with my previous post, you already have the correct ISO to continue on your ISO repository on ProxMox. If you don’t, just go to this address, copy the link for the minimal ARM image and paste it on ProxMox to start the download directly on the repository. The image I used is the one on this link:
https://cdimage.debian.org/debian-cd/current/arm64/iso-cd/debian-12.7.0-arm64-netinst.iso
Creating the VM
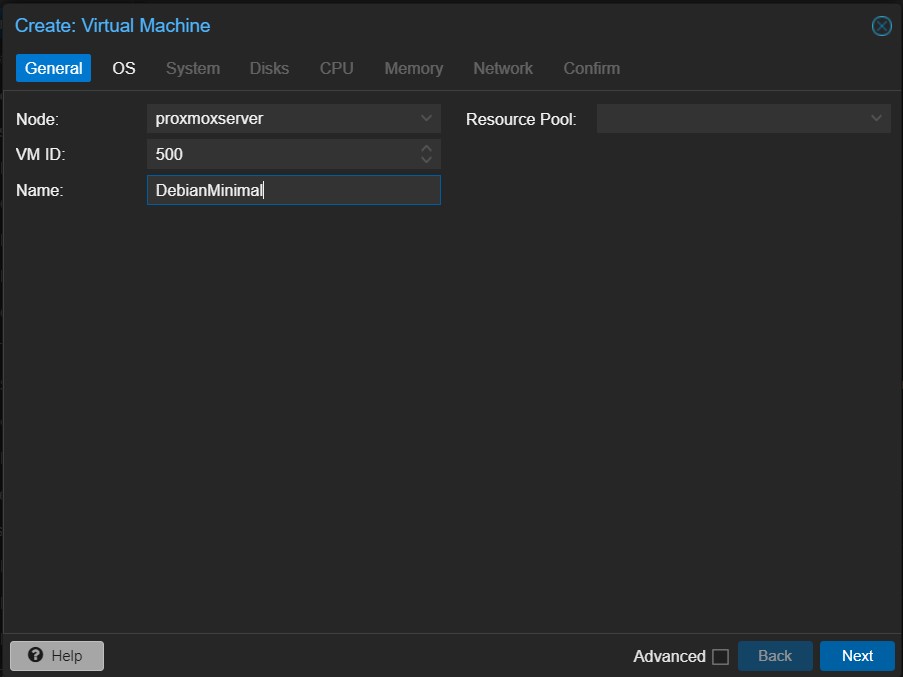
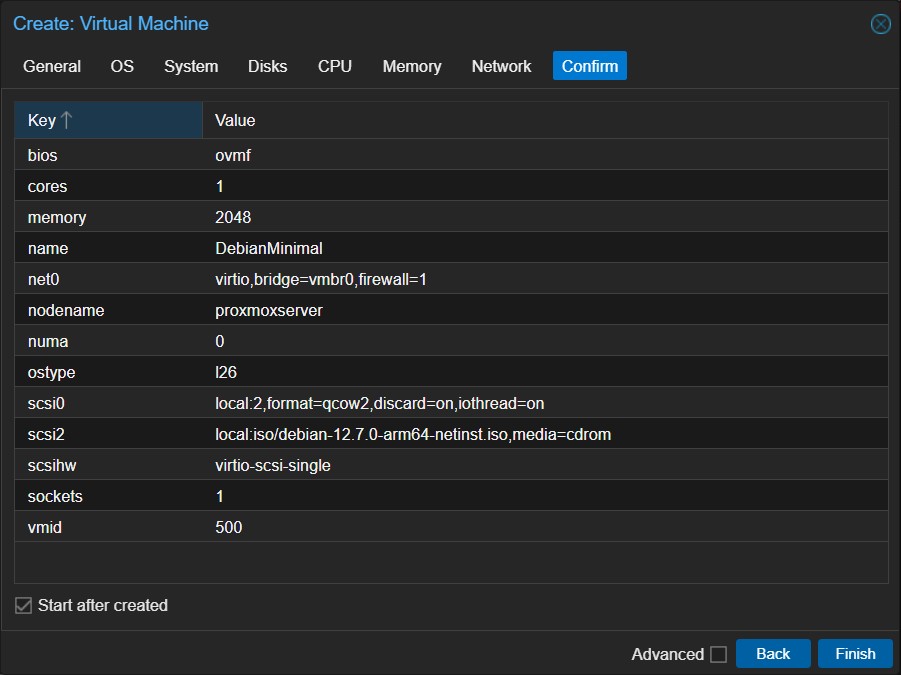
For starters, I clicked on the Create VM button on ProxMox WebUI and filled the gaps on the form. I gave it the ID of 500 and named it DebianMinimal.
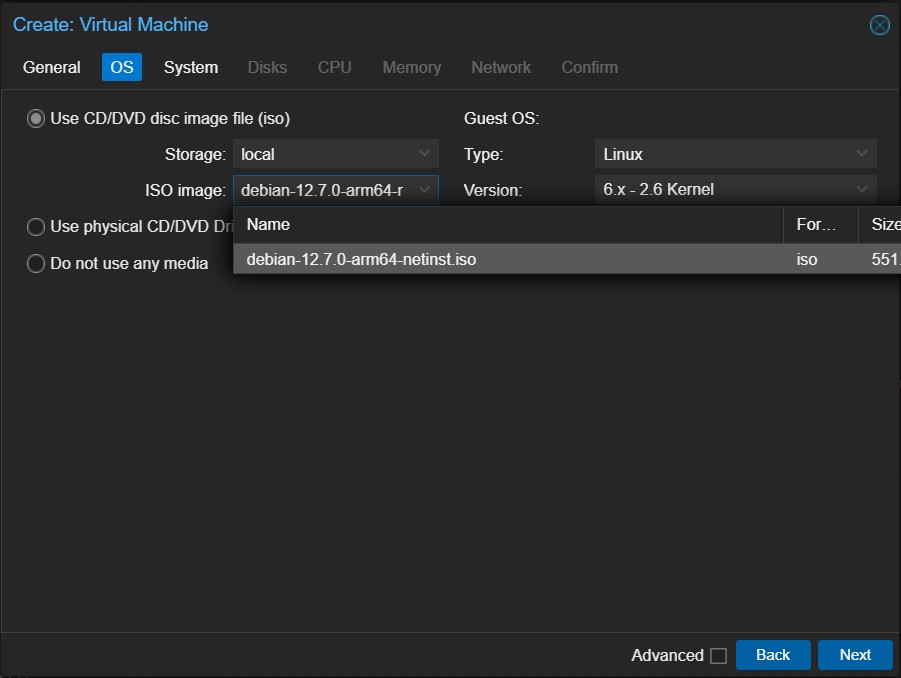
On the OS I chose the ISO image for Debian, that was the only one I had so far, and clicked Next
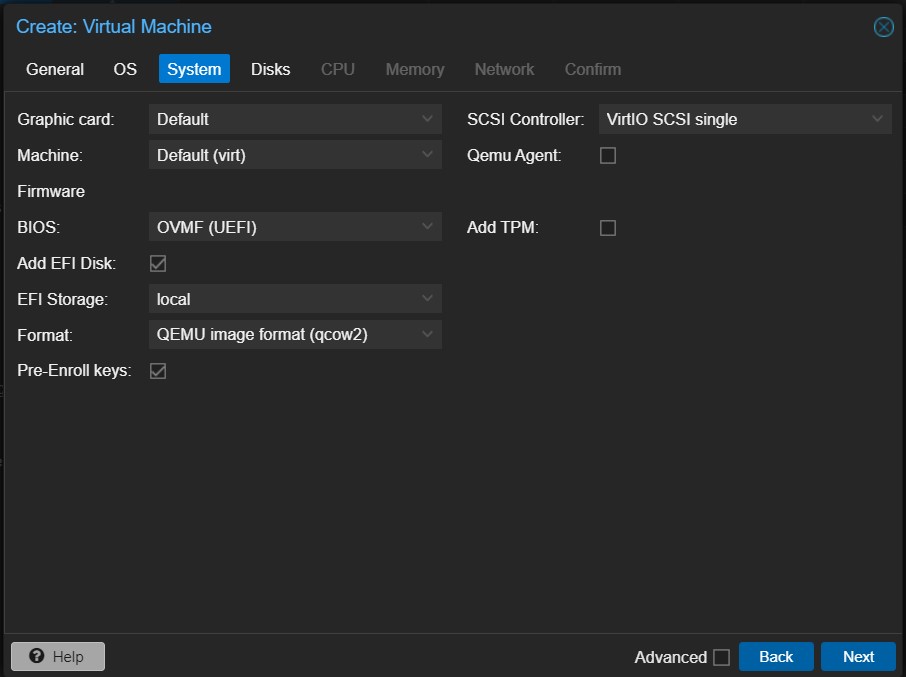
When prompted with the System tab I changed the BIOS to OVMF (UEFI) and selected the EFI Storage to be at the local drive.
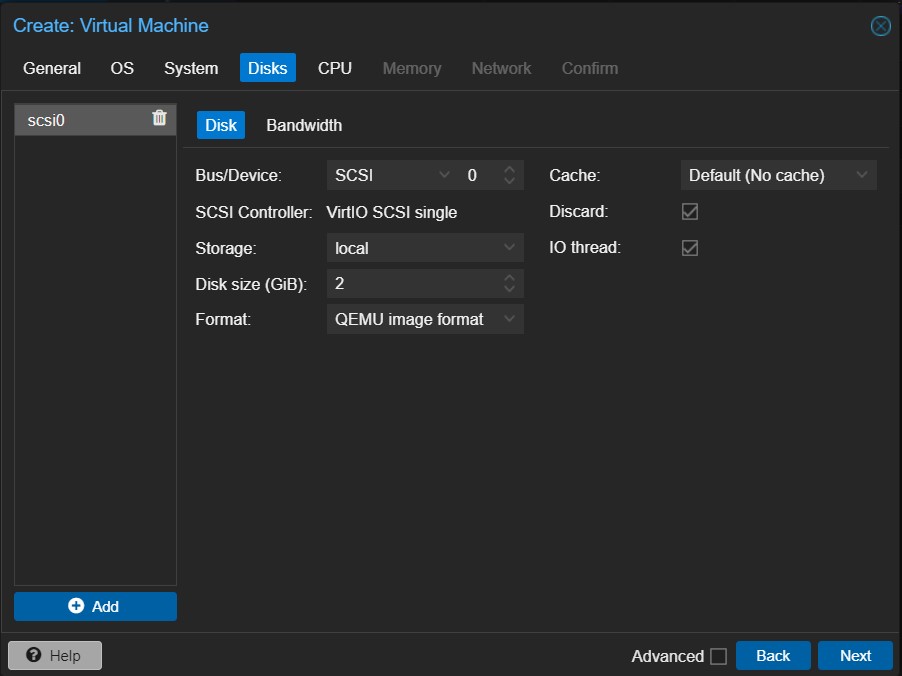
For the disk options, I reduced the size of it to just 2GiB and enabled the Discard option, as I am using an SSD. The Discard option allows some space recovery on the real storage when some space is freed on the VM, but this can lead to more load on the storage. On an SD card, it would be a pain.
I made no changes on the CPU, Memory and Network tabs, leaving all the defaults. Of course those options could be altered afterwards to reduce or increase the resources given to the VM as needed. Before confirming everything, I checked the Start after created box and waited for the console to come up.
Installing Debian
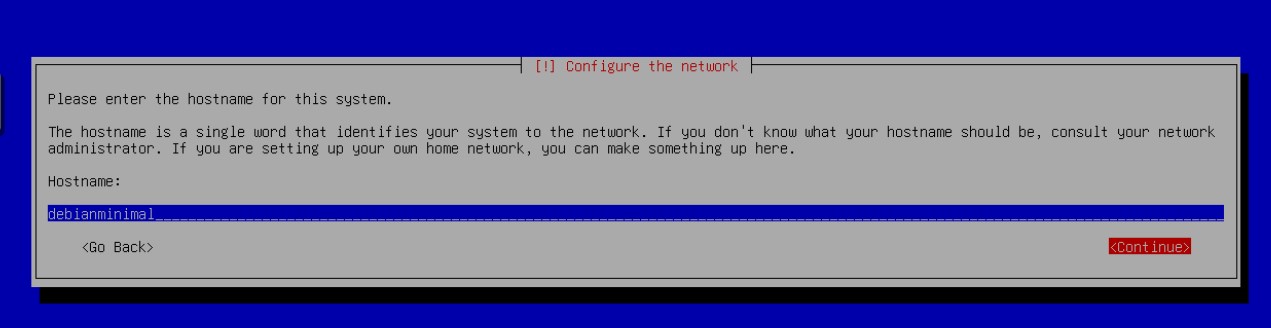
Quickly enough the installation menu was shown on the console. I selected the first option, Intall, and carried on setting up language, location and keyboard layout. It then asked me for a hostname. I called this machine debianminimal.
I left the domain name blank and then I was asked to provide a password for the root user.
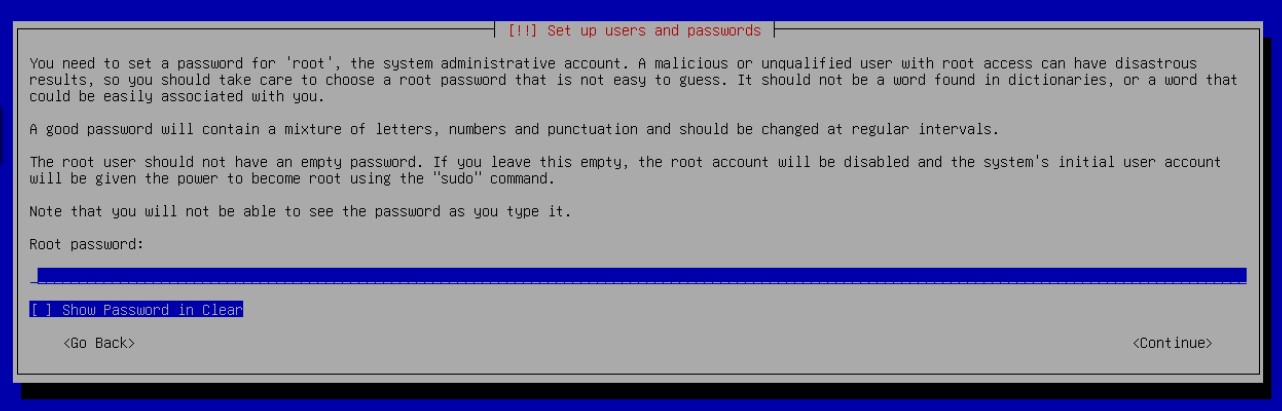
It said that if the root password was left empty the root account would be disabled and the initial user account would have been given the power to become root using the sudo command. Well, that is a desirable behavior. I do prefer to have the root user disabled and use sudo for administrative stuff. However, every time I tried to install the system without a root user, it failed and the installation was aborted in the middle. So, I had no other choice than setting a root password and disabling the root user later.
I then created the initial user and set its password and set the time zone. Then came the interesting part; partitioning the disk. I selected Manual and went to the task of creating the disk.
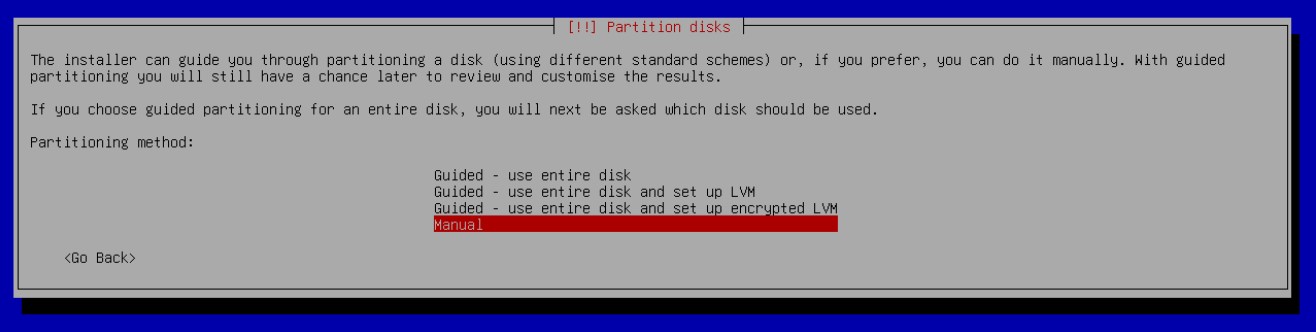
I selected the only disk available and started the process:
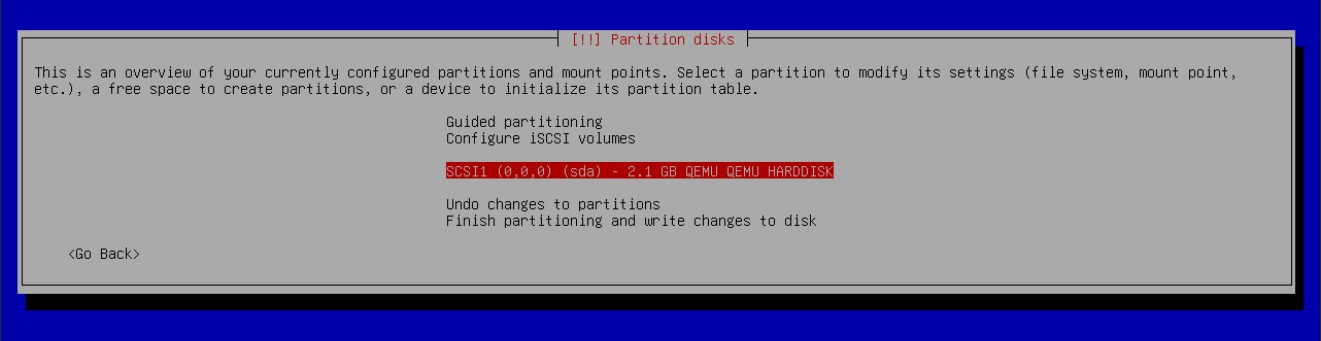
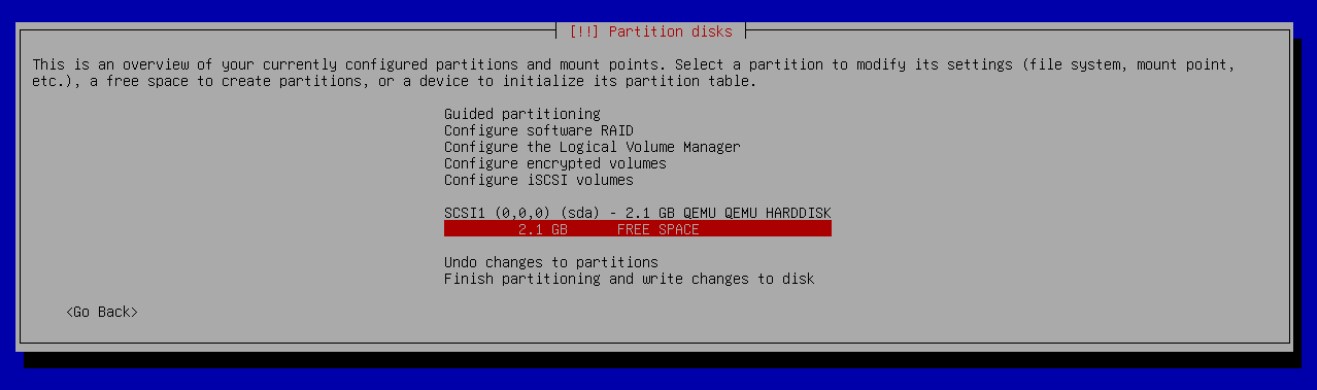
As soon as I pressed Enter I was greeted with a warning asking if I knew what I was doing, and I said Yes! I then selected the free space, hit Enter and chose _Create a new partition on the menu presented.
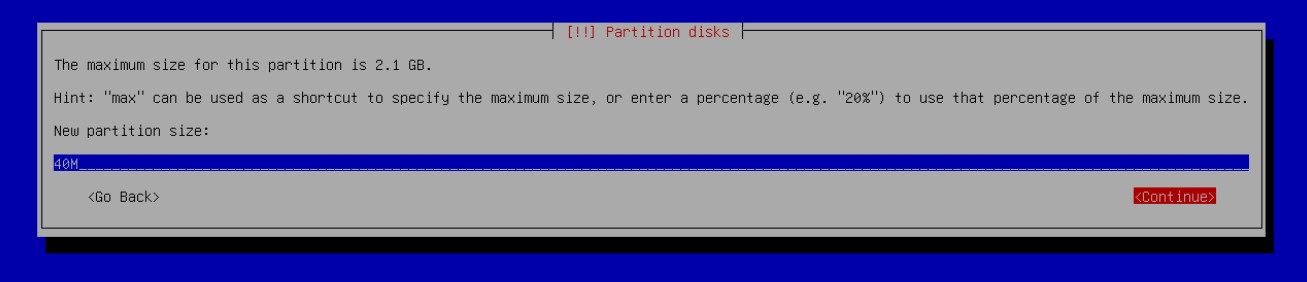
This first partition was the bootfs and I selected only 40MiB for it and placed it at the beginning of the disk when asked. Only 6MiB of this partition will be used, but every time I tried to make it even smaller, the system refused to start.
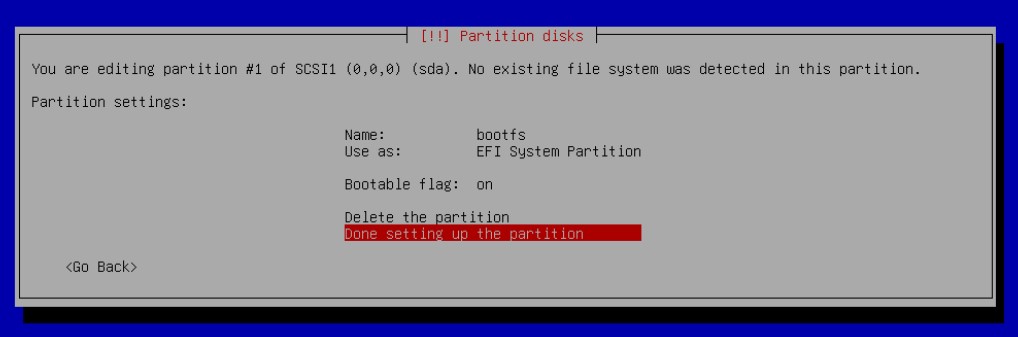
Once created, I changed its name to bootfs and its type to EFI System Partition. Once done, I hit Enter on _Done setting up the partition.
Next I selected the larger free space and created another partition there. This time I took the default size and changed the name to roofs and the mounting point to /. Be aware that the default mounting point can be /home. If not changed to / the system will not boot.
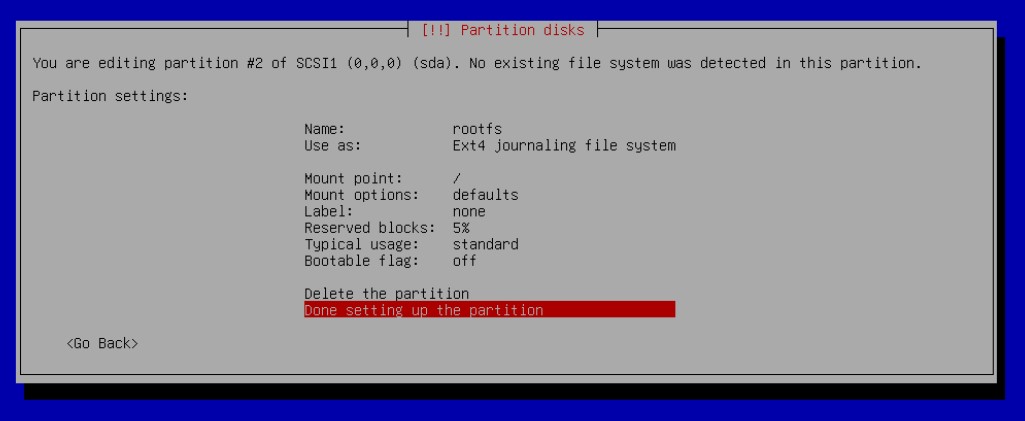
Once done, my disk settings looked like this:
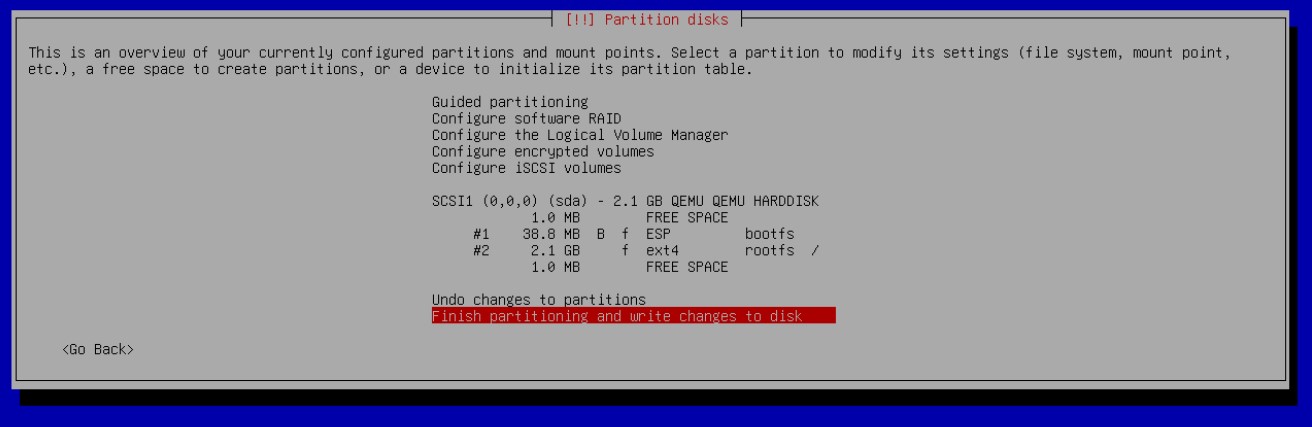
All done, it was time to Finish partitioning and write changes to disk. I was then prompted with a warning telling me I had not created a swap partition.
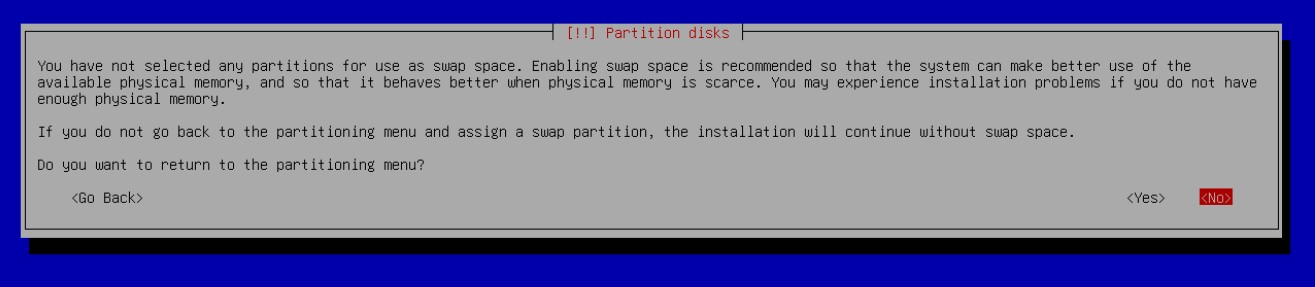
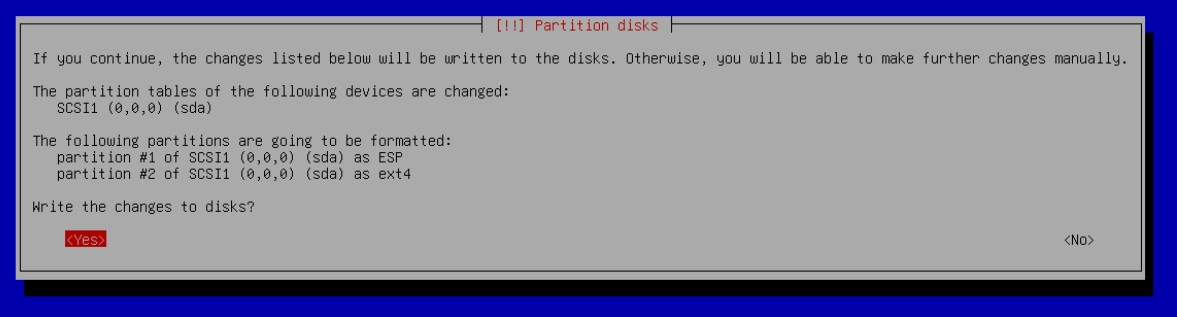
There is no point in creating a swap partition at this moment. A swap can be provided later with an extra disk dedicated only for this purpose or by a swap file. The appropriate size of the swap partition could not be decided at that moment, as I was creating a general purpose machine to be cloned and reused several times. I chose to go on without the swap partition and I was asked to confirm my settings once more before the installation resumed.
The next question that was presented, after a while, was about extra media, that I had none, so I answered the default No. Then it asked about mirrors for updates, for which I agreed with the defaults.
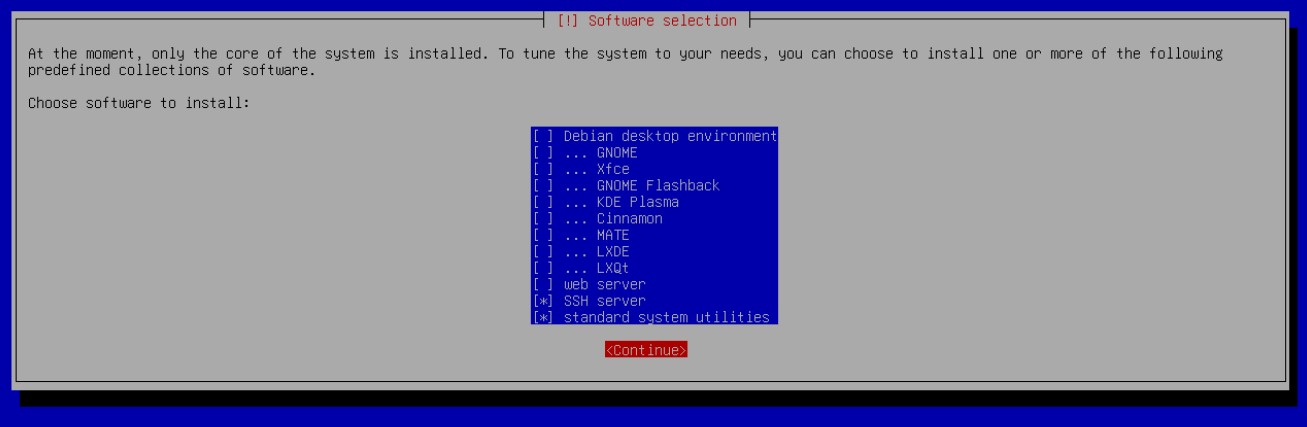
When asked about extra software, I selected only SSH server and standard system utulities.
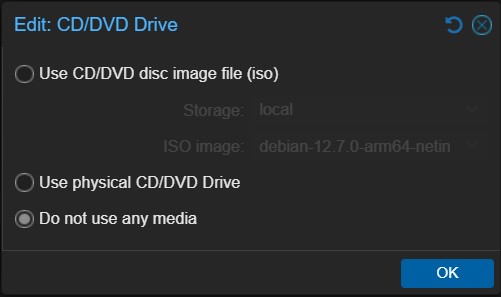
Soon enough the installation was complete, so I selected complete and I could turn the machine off by clicking on the arrow next to the shutdown button and choosing stop. Then I went to the Hardware tab on Proxmox and removed the ISO image from the drive.
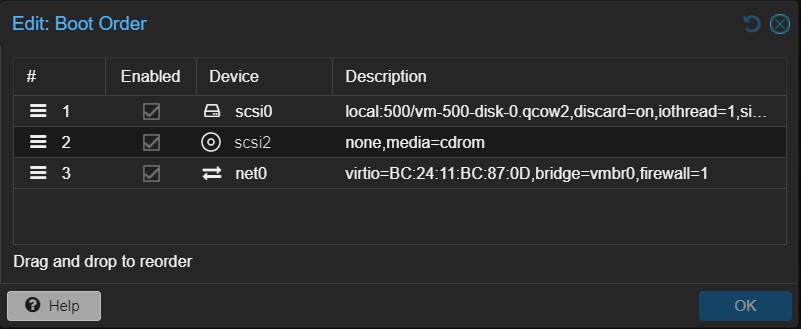
Next I changed the boot order on the Options tab by dragging the hard disk to the top and enabling it.
Booting up
Install QEMU agent
All done, I went back to the console and started the machine. Soon enough I had it connected on an SSH console and was able to see the result of it with the df command:
1
df -lh --type=ext4 --type=vfat

First of all, I gave my user the privilege to become root using the sudo command. Fist I gave the su command to invoke the root user and then:
1
2
3
apt install sudo
/sbin/usermod -aG sudo eduardo
exit
I noticed that my user could do sudo stuff only after I logged off and on again.
I then proceeded to install QEMU agent. The QEMU agent gives Proxmox some control on what is going on inside the VM, so you can not only shutdown the system from the console, but also make more stable backups and snapshots. First I installed the agent on the VM with the command:
1
sudo apt install qemu-guest-agent
Then I shutdown the machine to enable QEMU on the Proxmox console. The QEMU agent does not engage until the machine is powered off and on again, so it is a necessary step.
1
sudo poweroff
After the Vm had stopped, I navigated to the Option tab and enabled QEMU.

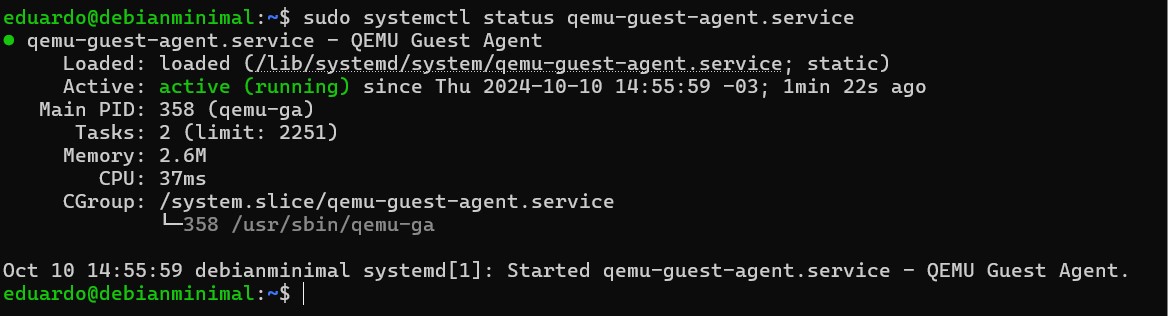
I started again the machine and, after logging in, I checked if the service was running properly using:
1
sudo systemctl status qemu-guest-agent.service
And I got the response:
Finally, I decided to get rid of that blue screen GRUB shows on every boot. It just makes the boot processes slower.
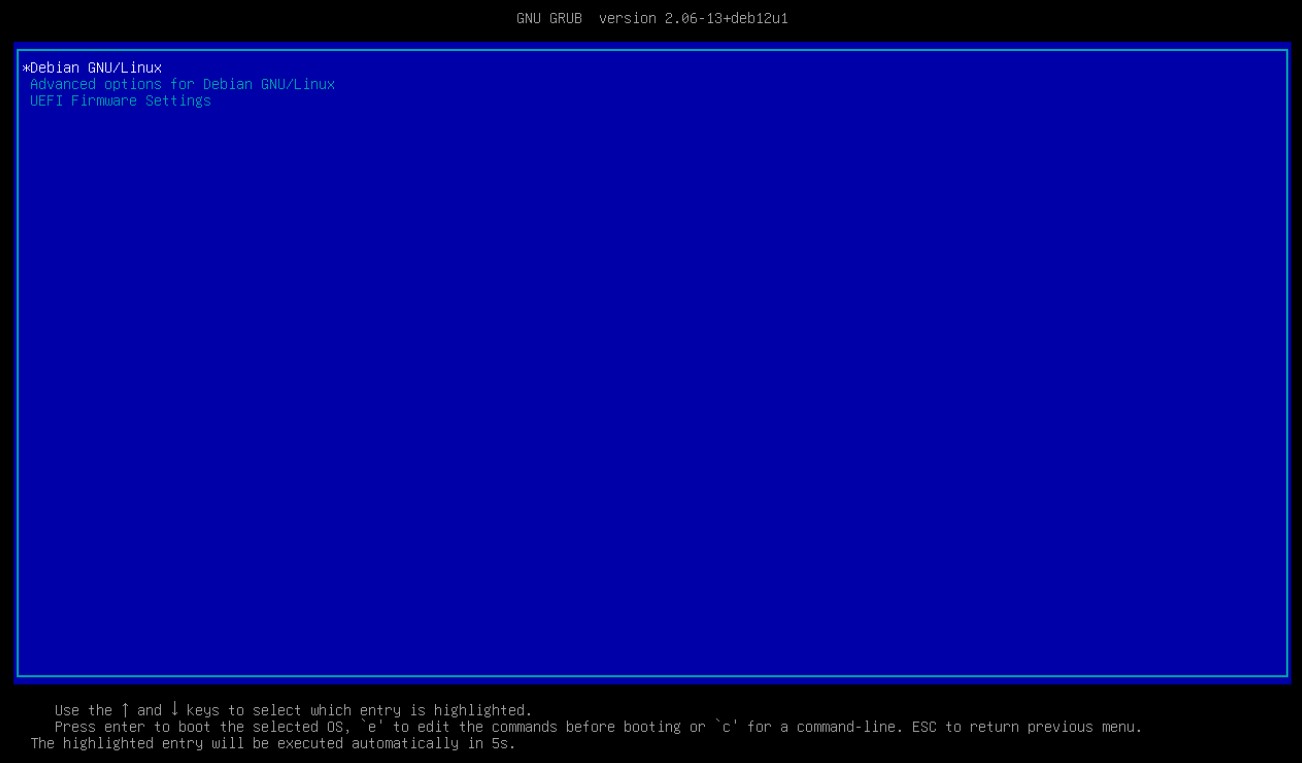
For that I edited the configuration file for GRUB:
1
sudo nano /etc/default/grub
And I changed this one line to be like this:
1
GRUB_TIMEOUT=0
Next I executed the command to update GRUB boot:
1
sudo update-grub
And that was it! The VM was ready for use.